
Getting Started
Creating an OopsBot Profile
Learn how to set up and customize your OopsBot profile to personalize your workspace and organize test cases.
Creating Profile
Once your account is created, the next step is to set up your OopsBot Profile. Your profile helps personalize the platform and makes collaboration within teams smoother.
Step 1: Access Your Profile
Log in to OopsBot.
From the top-right corner of the dashboard, click on your profile icon.
Select Profile Settings.
Step 2: Add Basic Information
Fill in the following details:
Full Name – Appears across your projects.
Role – QA Engineer, Product Manager, Developer, etc.
Team/Organization – Helps group projects and manage access.
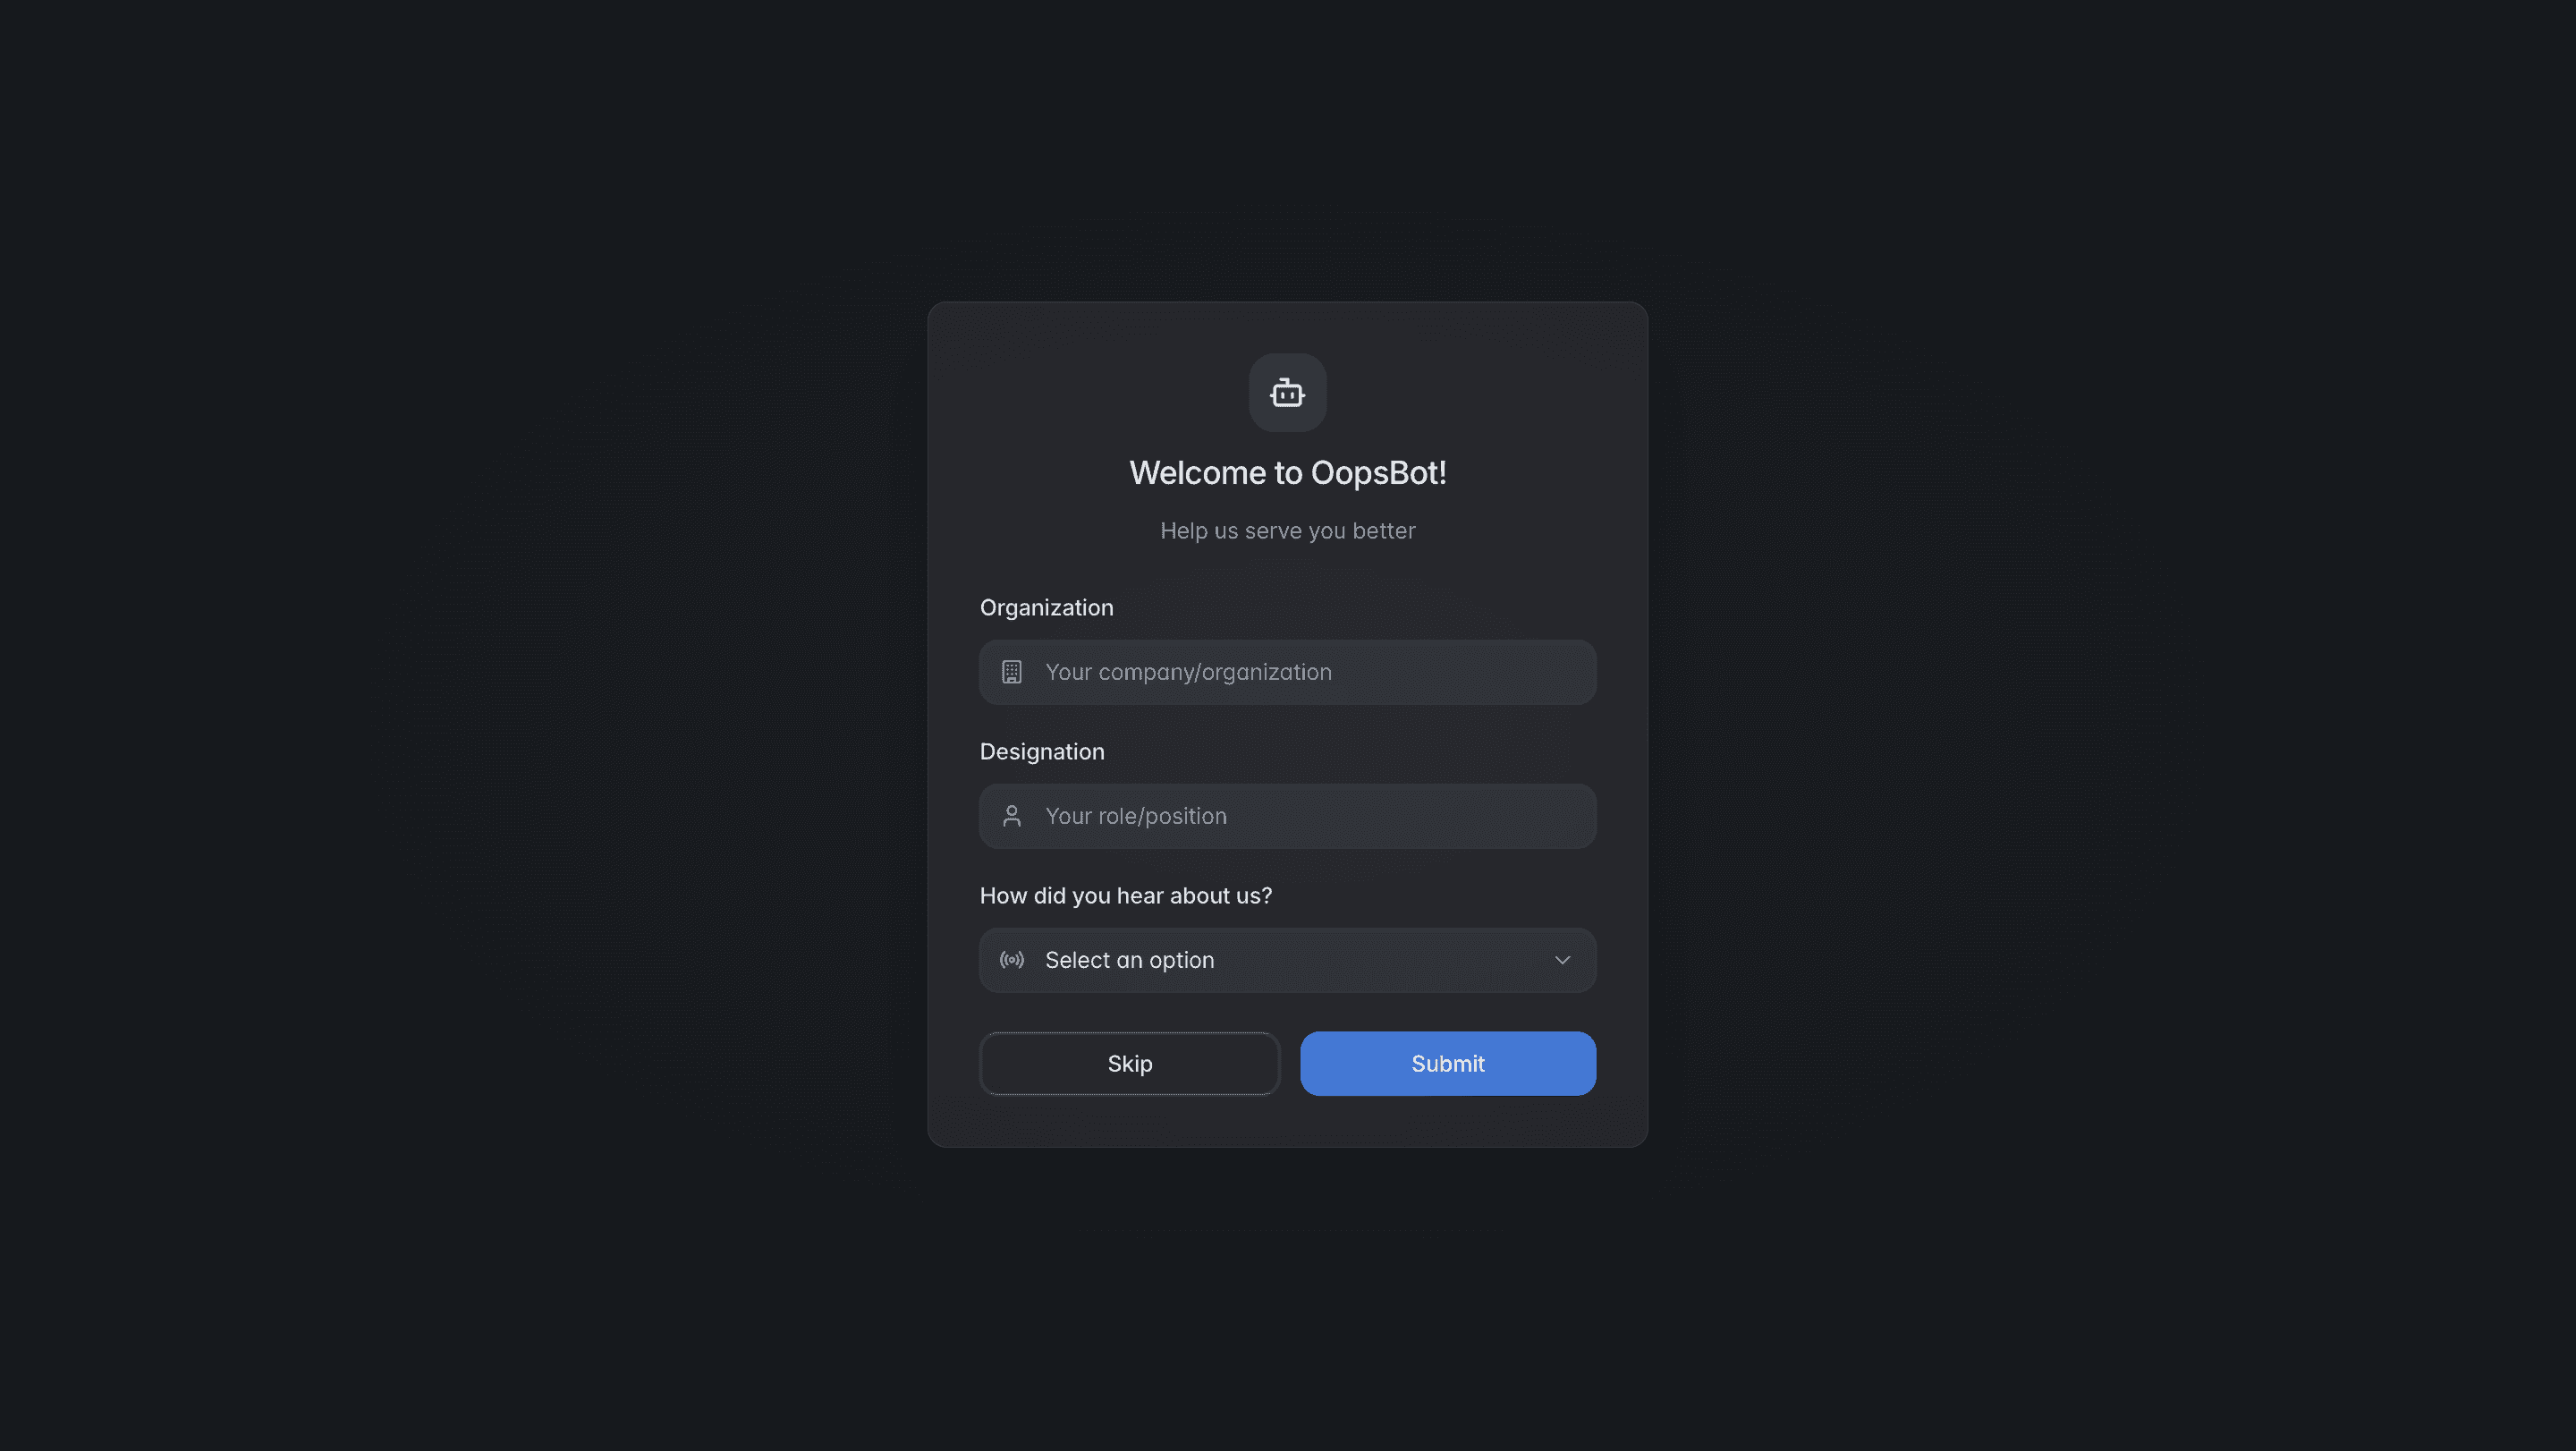
Step 3: Click Submit
Click Save to apply your updates.
Your profile is now active and linked to your projects.
Any other questions? Get in touch